ACQUIRING IMAGES IN 3D DSA ANGIOGRAPHY SYSTEM
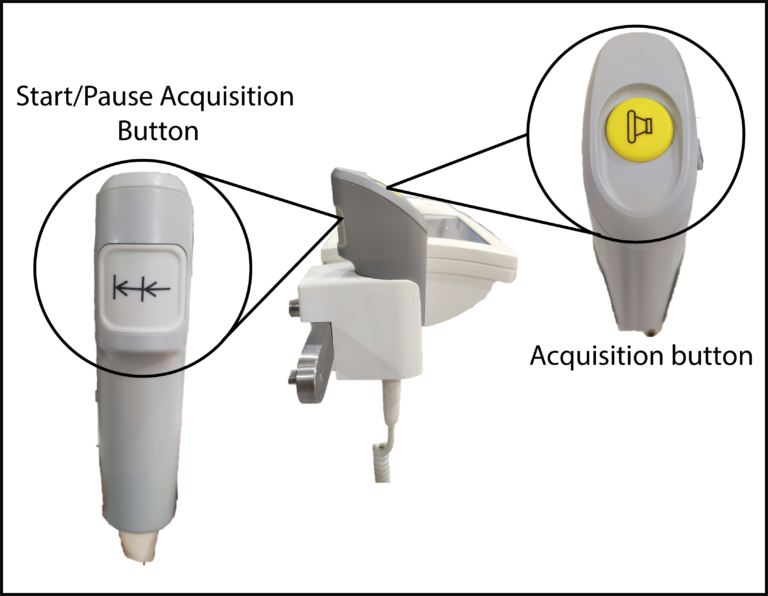
HAND SWITCH
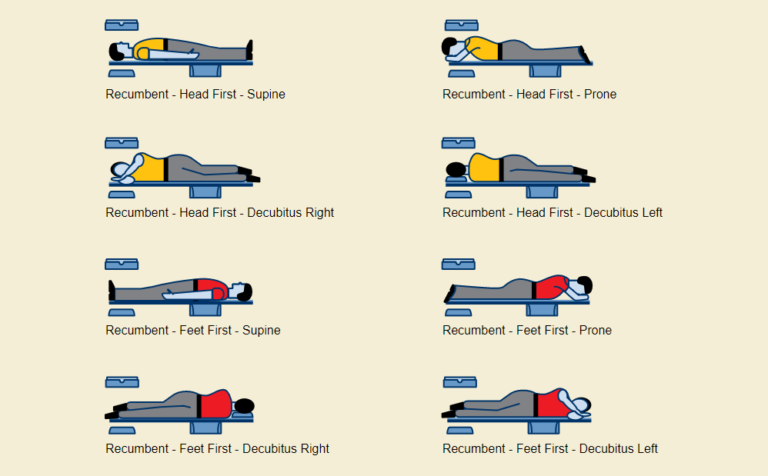
- Set the orientation patient in system : Head First – Supine
- Open 4D Task Card in Touch Screen Console.
- Select desired 3D protocol

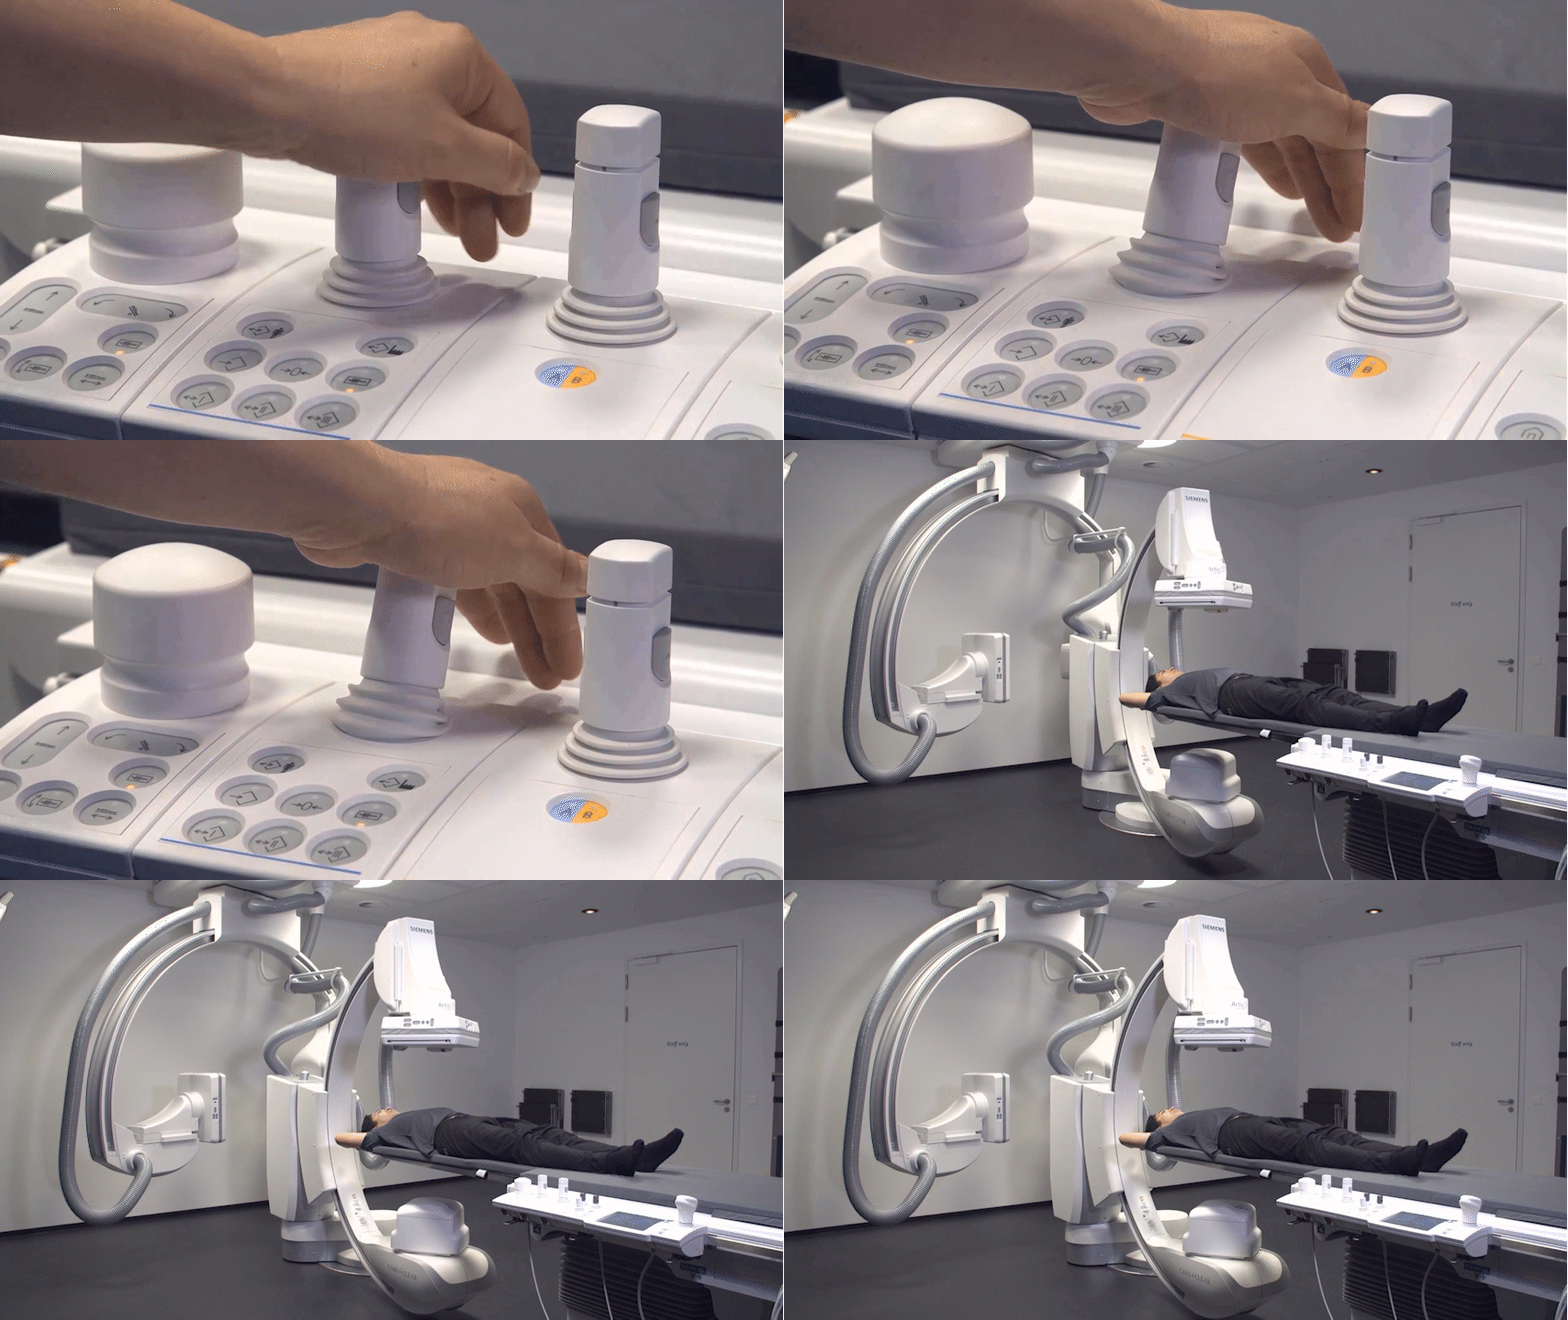
- Press down and deflect left joystick away from you.
- The system will move to the starting position for 3D acquisition
- Follow ‘Acquisition Instruction’ that appear on screen
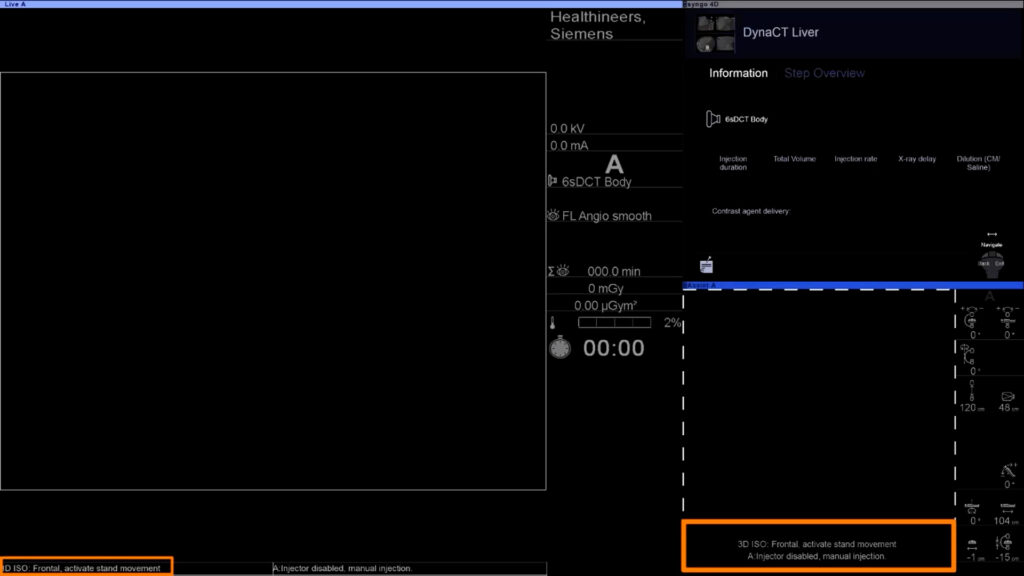
- Position region of interest at the ISO center
- Laser indicator is not available on the system
- Laser indicator in the image is for showing the step to position patient at ISO center
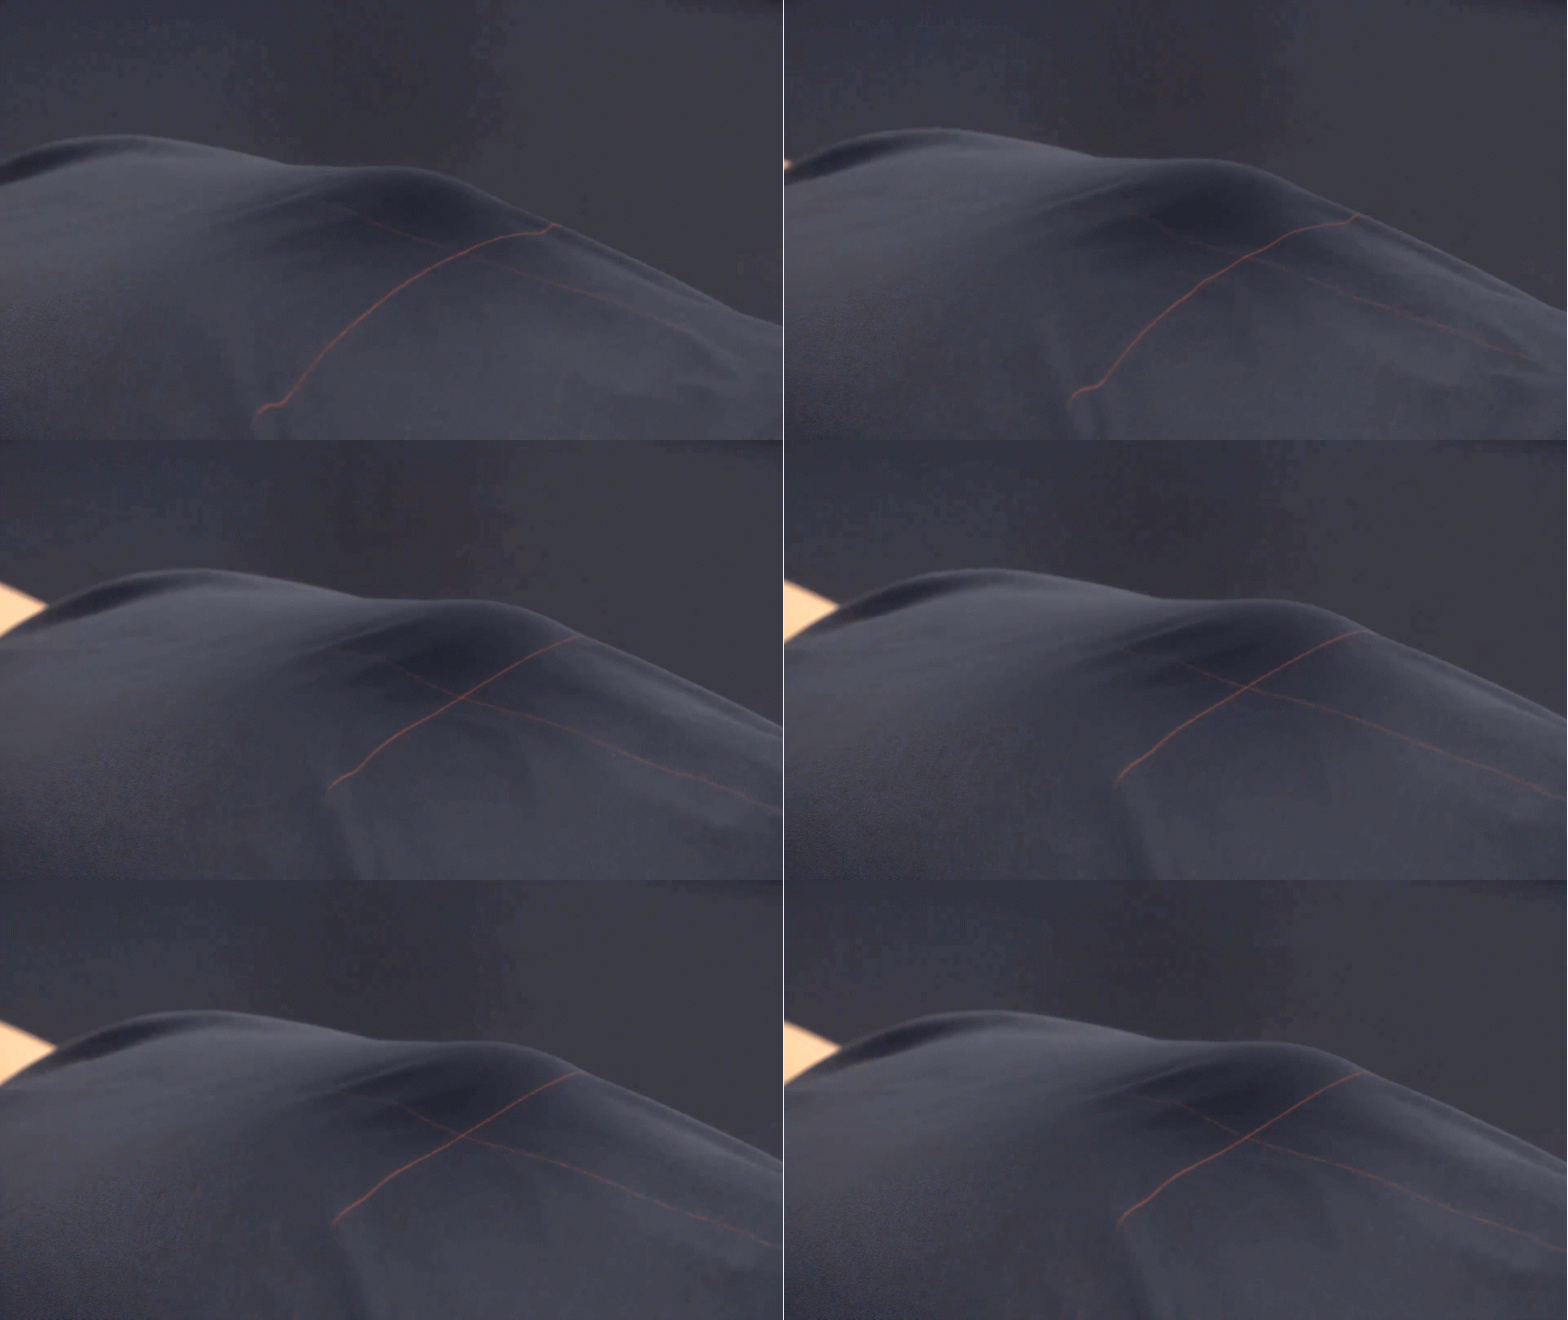
- Perform fluoroscopy briefly
- to ensure AP position at ISO center
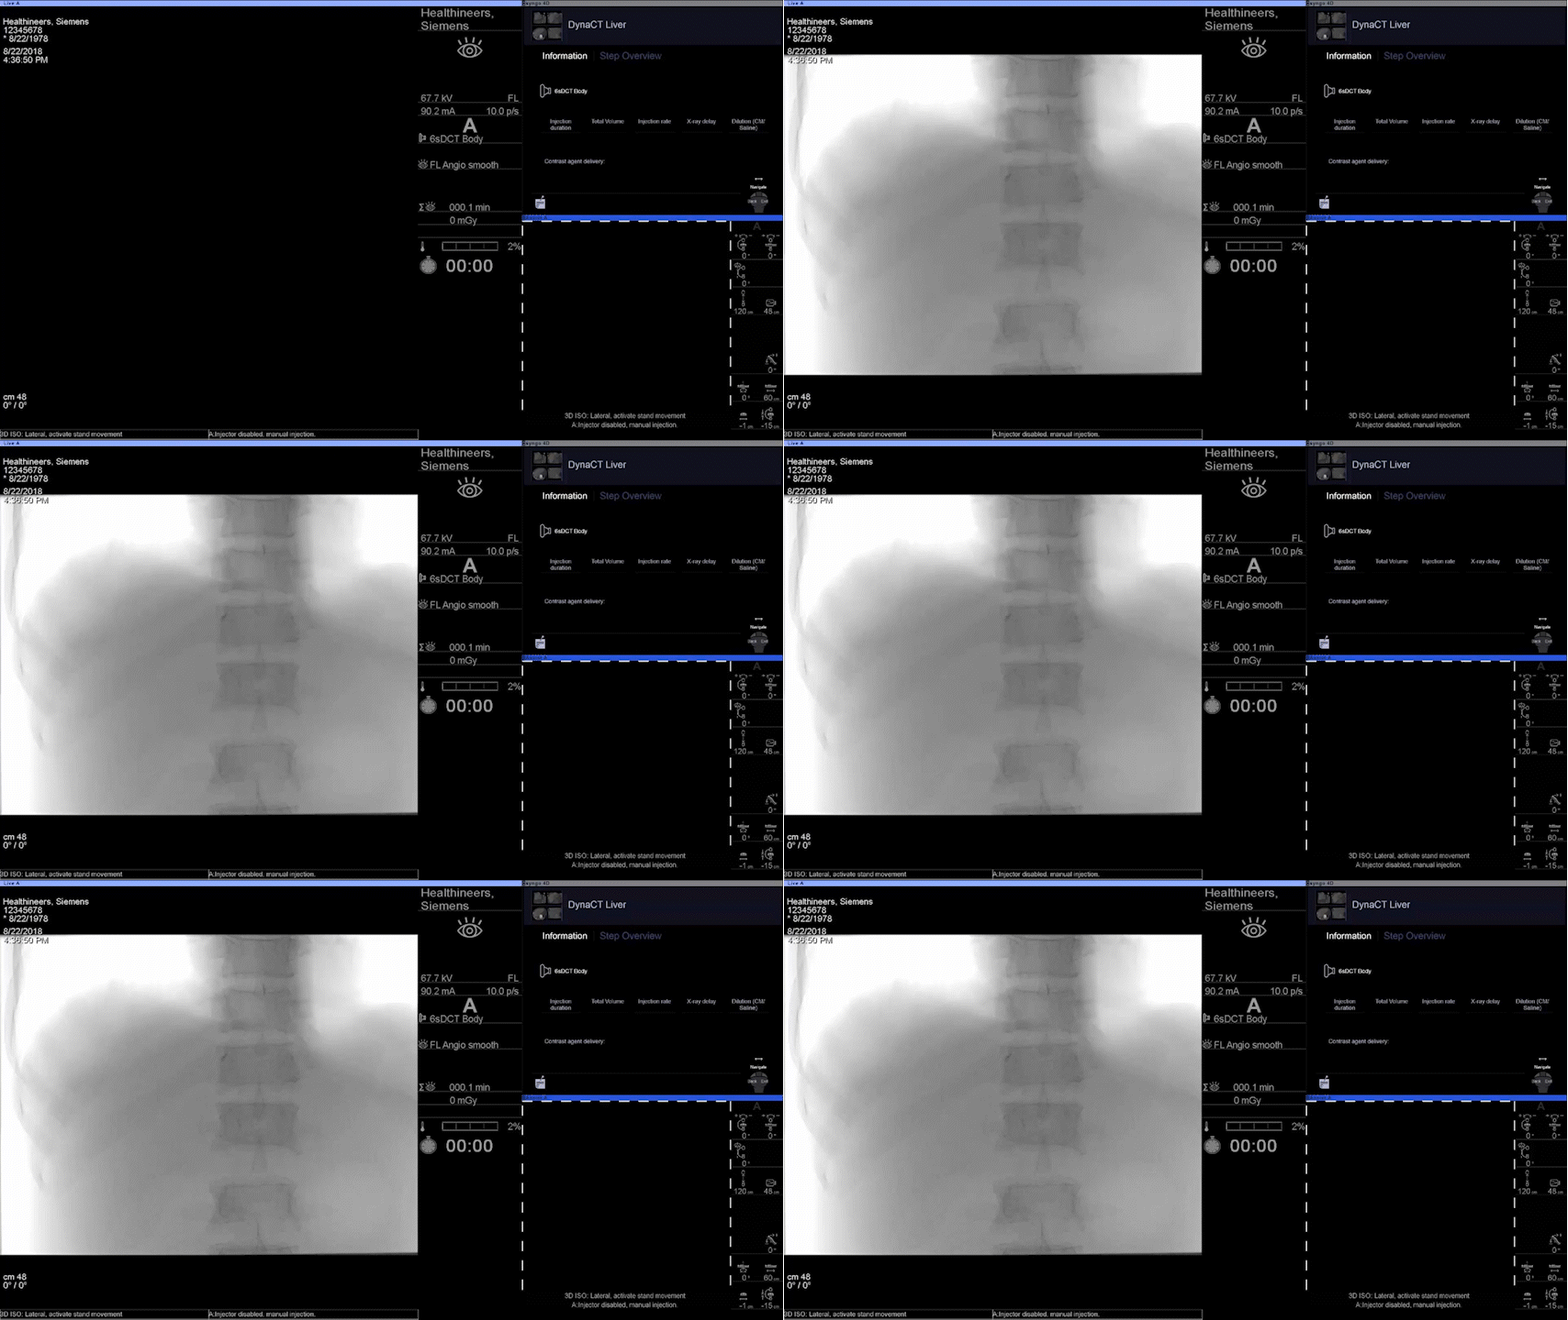
- Press down and deflect left joystick away from you
- System will move to lateral position
- Perform fluoroscopy briefly
- to ensure the lateral position at the ISO center
- Adjust table height to center ROI at the ISO center
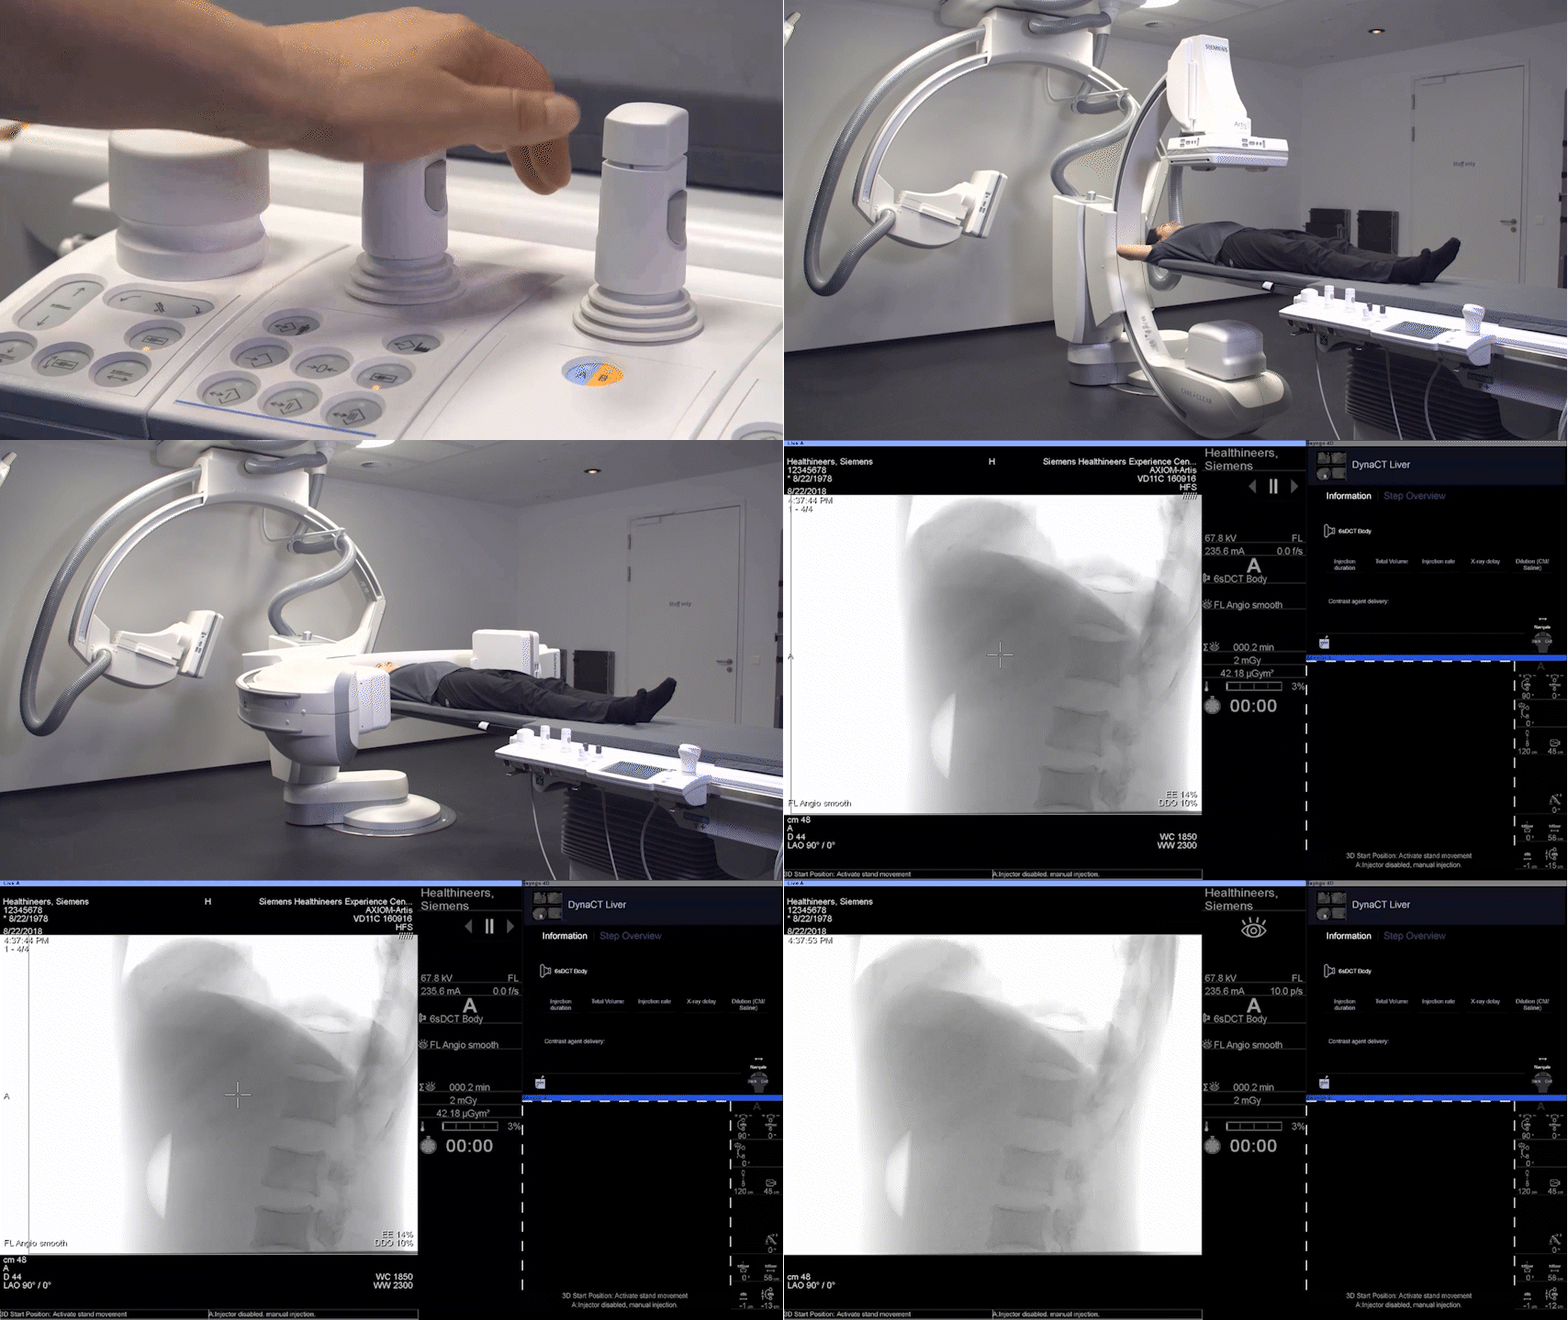
Entering the Test Phase:
- to ensure there is no collision happen during 3D acquisition
- Press down and deflect left joystick away from you to start the Test Phase
- A message will appear on the screen “3D Test Phase”
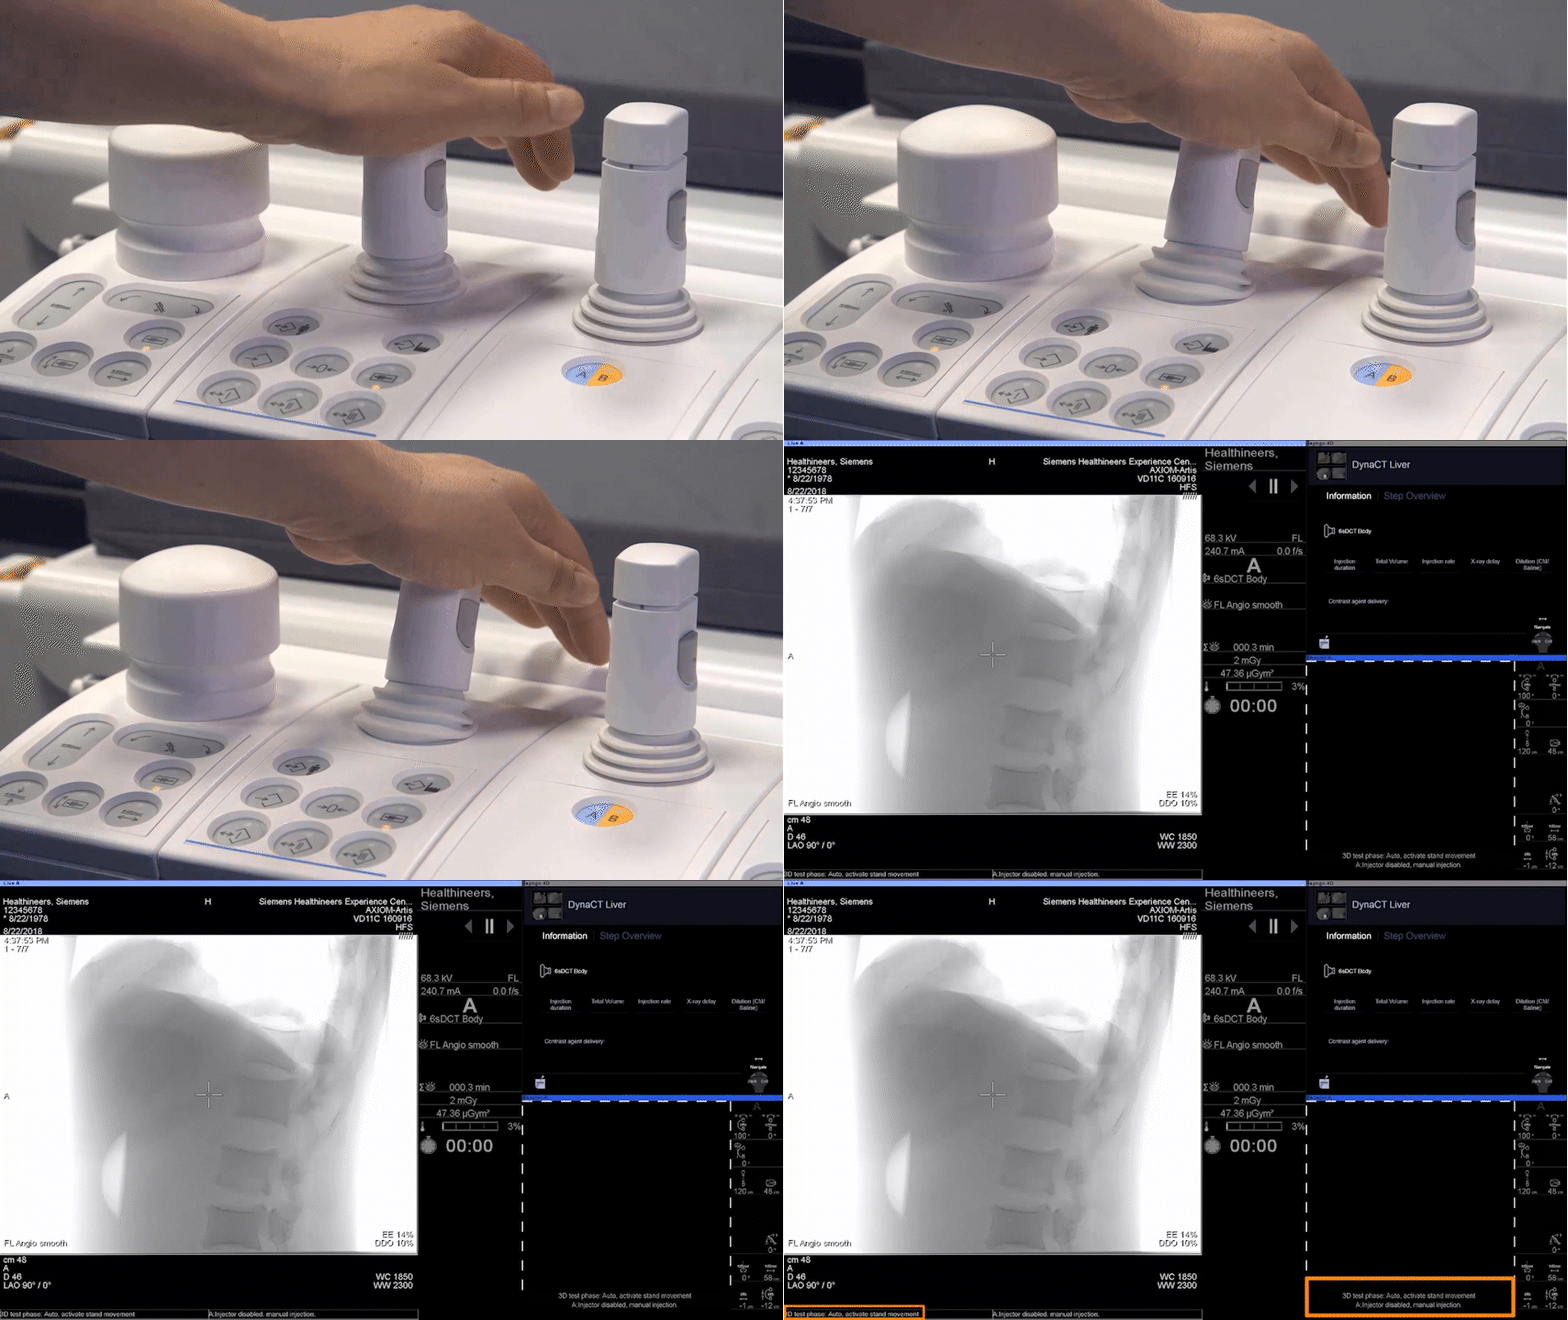
- Press down and deflect the left joystick away from you
- Test Phase rotation will start immediately
- Manually release left joystick if there are any possible collision. Press down and deflect left joystick again to continue the Test Phase rotation
- C-arm rotation will stop automatically after completing the rotation.
- Perform fluoroscopy briefly to complete the Test Phase
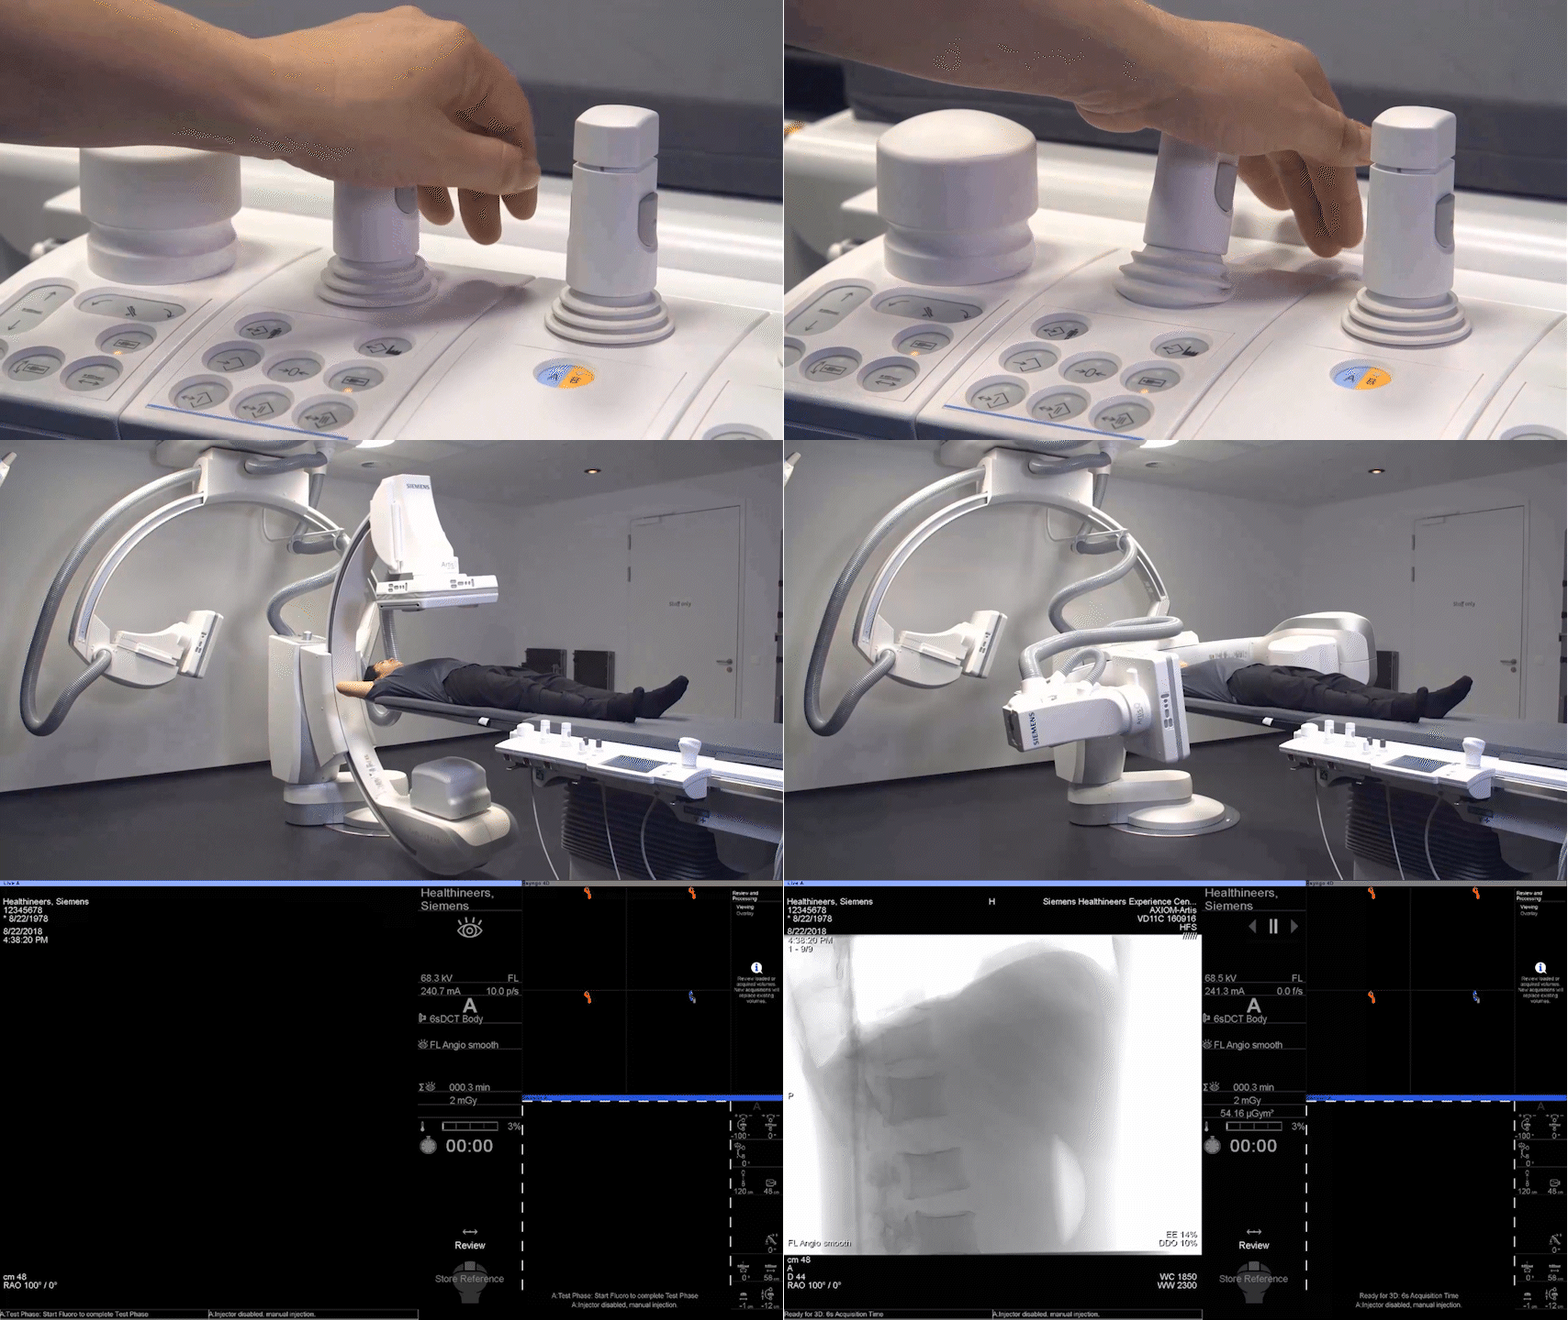
DSA Acquisition
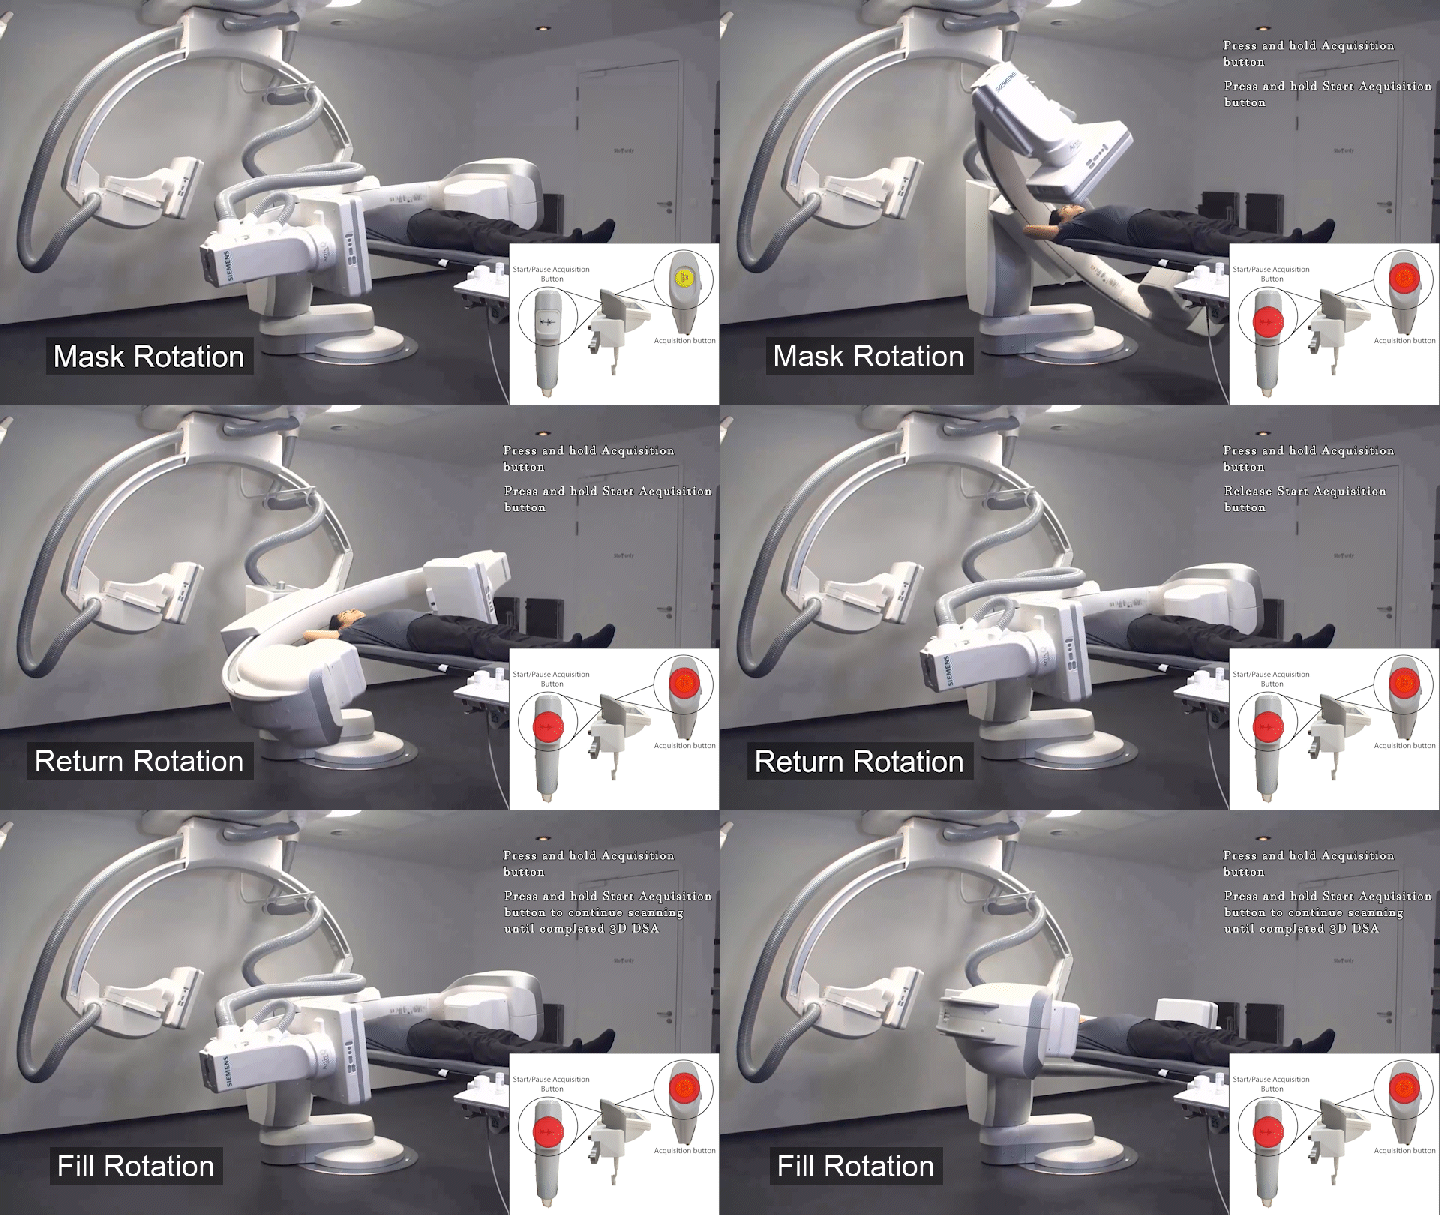
- Consist of 3 rotation:
- Mask rotation
- Return rotation (no X-ray)
- Fill rotation (after contrast injection)

3D DSA Acquisition
-Mask Rotation Phase
- Press and hold Acquisition button
- Press and hold Start/pause acquisition button to start DSA Acquisition
-After Return Rotation Phase Completed
- Release Start/pause acquisition button to pause DSA Acquisition. !!Do not release Acquisition button.
- Inject contrast
-Fill Rotation Phase
- Press Start/pause Acquisition button to continue DSA acquisition until completing the acquisition.
- 3D DSA images and VRT will automatically appear on screen.
